Chevrolet Cobalt Service & Repair Manual: Connecting Rod R&R
| 1. |
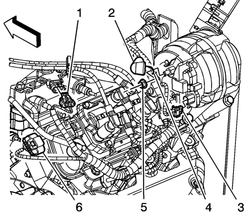
Rotate the crankshaft to a position
where the connecting rod bolts are the most accessible, Fig.
1. |
| 2. |
Mark the connecting rod and cap with
the cylinder position. Also mark their orientation. This will ensure
the caps and connecting rods are re-assembled properly. |
| 3. |
Remove any ridge at the top of the
cylinder bore to avoid damage to the piston ring lands. |
| 4. |
Remove the connecting rod bolts. |
| 5. |
Remove the connecting rod cap. |
| 6. |
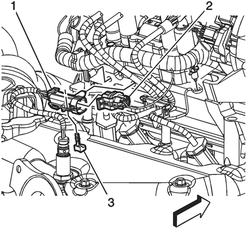
Install tool No. J-43966-1 on the connecting
rod bolts before removing the piston and connecting rod assembly,
Fig. 2. |
| 7. |
Remove the piston and connecting rod
assembly. |
| 8. |
Reverse procedure to install, noting
the following: |
| |
a. |
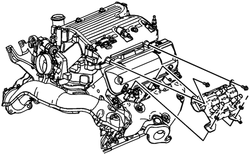
Assemble the connecting rod and the
piston, Fig. 3. |
| |
b. |
Coat the piston pin with oil. |
| |
c. |
Using tool No. EN-46745 remover/installer
and tool No. EN-46745-4 adapter, then install one side of one piston
pin retainer into the retaining groove. Rotate the retainer until
it is fully seated in the groove. |
| |
d. |
Install the connecting rod and the
piston pin. Push the piston pin until it bottoms in the previously
installed retainer. |
| |
e. |
Using tool No. EN-46745 remover/installer
and tool No. EN-46745-4 adapter, then install the second piston
pin retainer. |
| |
f. |
Ensure that the piston moves freely. |
| |
g. |
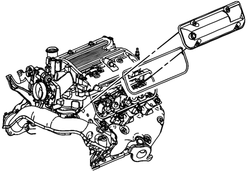
Install the following components of
the oil control ring assembly: Bottom ring, the expander, the lower
oil control ring and the upper control ring, Fig. 4. |
| |
h. |
Install the lower compression ring-second
ring. Place the manufacturer's mark facing up. |
| |
i. |
Install the upper compression ring-top
ring. |
| |
j. |
Torque connecting rod bolts
to 18 ft. lbs. Plus 100 degrees using tool No. J-45059. |
|

Fig. 1 Connecting rod access

Fig. 2 Connecting rod replacement

Fig. 3 Connecting rod and piston assembly

Fig. 4 Piston assembly components
When inspecting cylinder compression,
the engine should be at room temperature, the throttle should be open, the
spark plugs removed and the battery at full charge. The lowest reading c ...
Removal
1.
Raise and support vehicle.
2.
Remove front tire and wheel assembly.
3.
Remove front fender liner.
...
Chevrolet Cobalt Owners Manual
Chevrolet Cobalt Service Manual


 Compression Pressure
 Crankshaft Damper R&R