Chevrolet Cobalt Service & Repair Manual: Exhaust Manifold Gasket R&R
| 1. |
Remove the secondary air injection
bolts (2) and nuts (1), Fig. 1. |
| 2. |
Remove the secondary air injection
studs (3 and 4), Fig. 2. |
| 3. |
Remove the secondary air injection
valve assembly (1), Fig. 2. |
| 4. |
Remove the secondary air injection
gasket (2) and discard, Fig. 2. |
| 5. |
Remove the exhaust manifold heat shield
bolt. |
| 6. |
Remove the exhaust manifold heat shield. |
| 7. |
Remove the block heater if equipped. |
| 8. |
Remove the oxygen sensor. |
| 9. |
Remove the exhaust manifold brace bolts
(2) and brace (1), Fig. 3. |
| 10. |
Remove and discard the exhaust manifold
to cylinder head retaining nuts (3), Fig. 4. |
| 11. |
Remove the exhaust manifold (1),
Fig. 4. |
| 12. |
Remove the exhaust manifold gasket
(2), Fig. 4. |
| 13. |
Clean all of the sealing surfaces. |
| 14. |
If the exhaust manifold is being replaced,
transfer the following parts: The exhaust manifold heat shield and
the oxygen sensor. |
| 15. |
Remove the secondary air injection
pipe assembly bolts (2), Fig. 5. |
| 16. |
Remove the secondary air injection
pipe assembly (1), Fig. 5. |
| 17. |
Reverse procedure to install, noting
the following: |
| |
a. |
Torque exhaust manifold studs
to 89 inch lbs. |
| |
b. |
Torque secondary air injection
pipe assembly bolts to 89 inch lbs. |
| |
c. |
Torque exhaust manifold brace
bolts to 43 ft. lbs. |
| |
d. |
Torque new exhaust manifold
to cylinder head nuts in sequence to 124 inch lbs. |
| |
e. |
Torque oxygen sensor to 31 ft.
lbs. |
| |
f. |
Torque block heater to 89 inch
lbs. |
| |
g. |
Torque exhaust manifold heat
shield bolt to 18 ft. lbs. |
| |
h. |
Torque secondary air injection
studs to 89 inch lbs. |
|
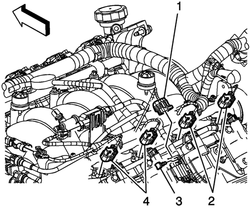
Fig. 1 Secondary air injection fasteners
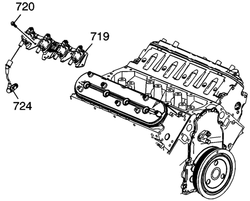
Fig. 2 Secondary air injection replacement
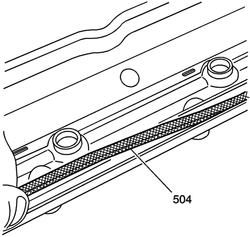
Fig. 3 Exhaust manifold brace replacement
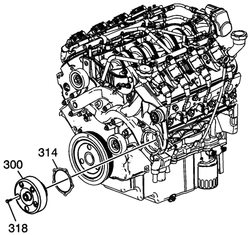
Fig. 4 Exhaust manifold replacement
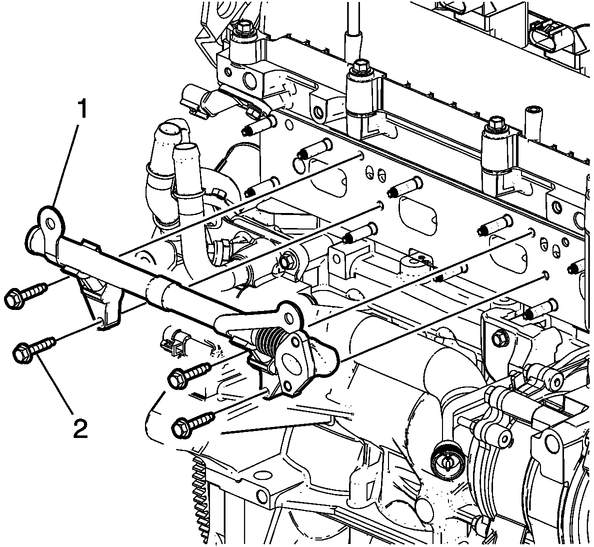
Fig. 5 Secondary air injection pipe assembly
Removal
1.
Open and support hood. Install suitable
protective covering over fenders. Mark upper hood hinge location
to hood with suitable grease pencil. Remove ...
Removal
1.
Remove exhaust manifold heat shield.
2.
Remove oxygen sensor.
3.
Raise and support vehicle.
...
Chevrolet Cobalt Owners Manual
Chevrolet Cobalt Service Manual


 Engine, Replace
 Exhaust Manifold, Replace